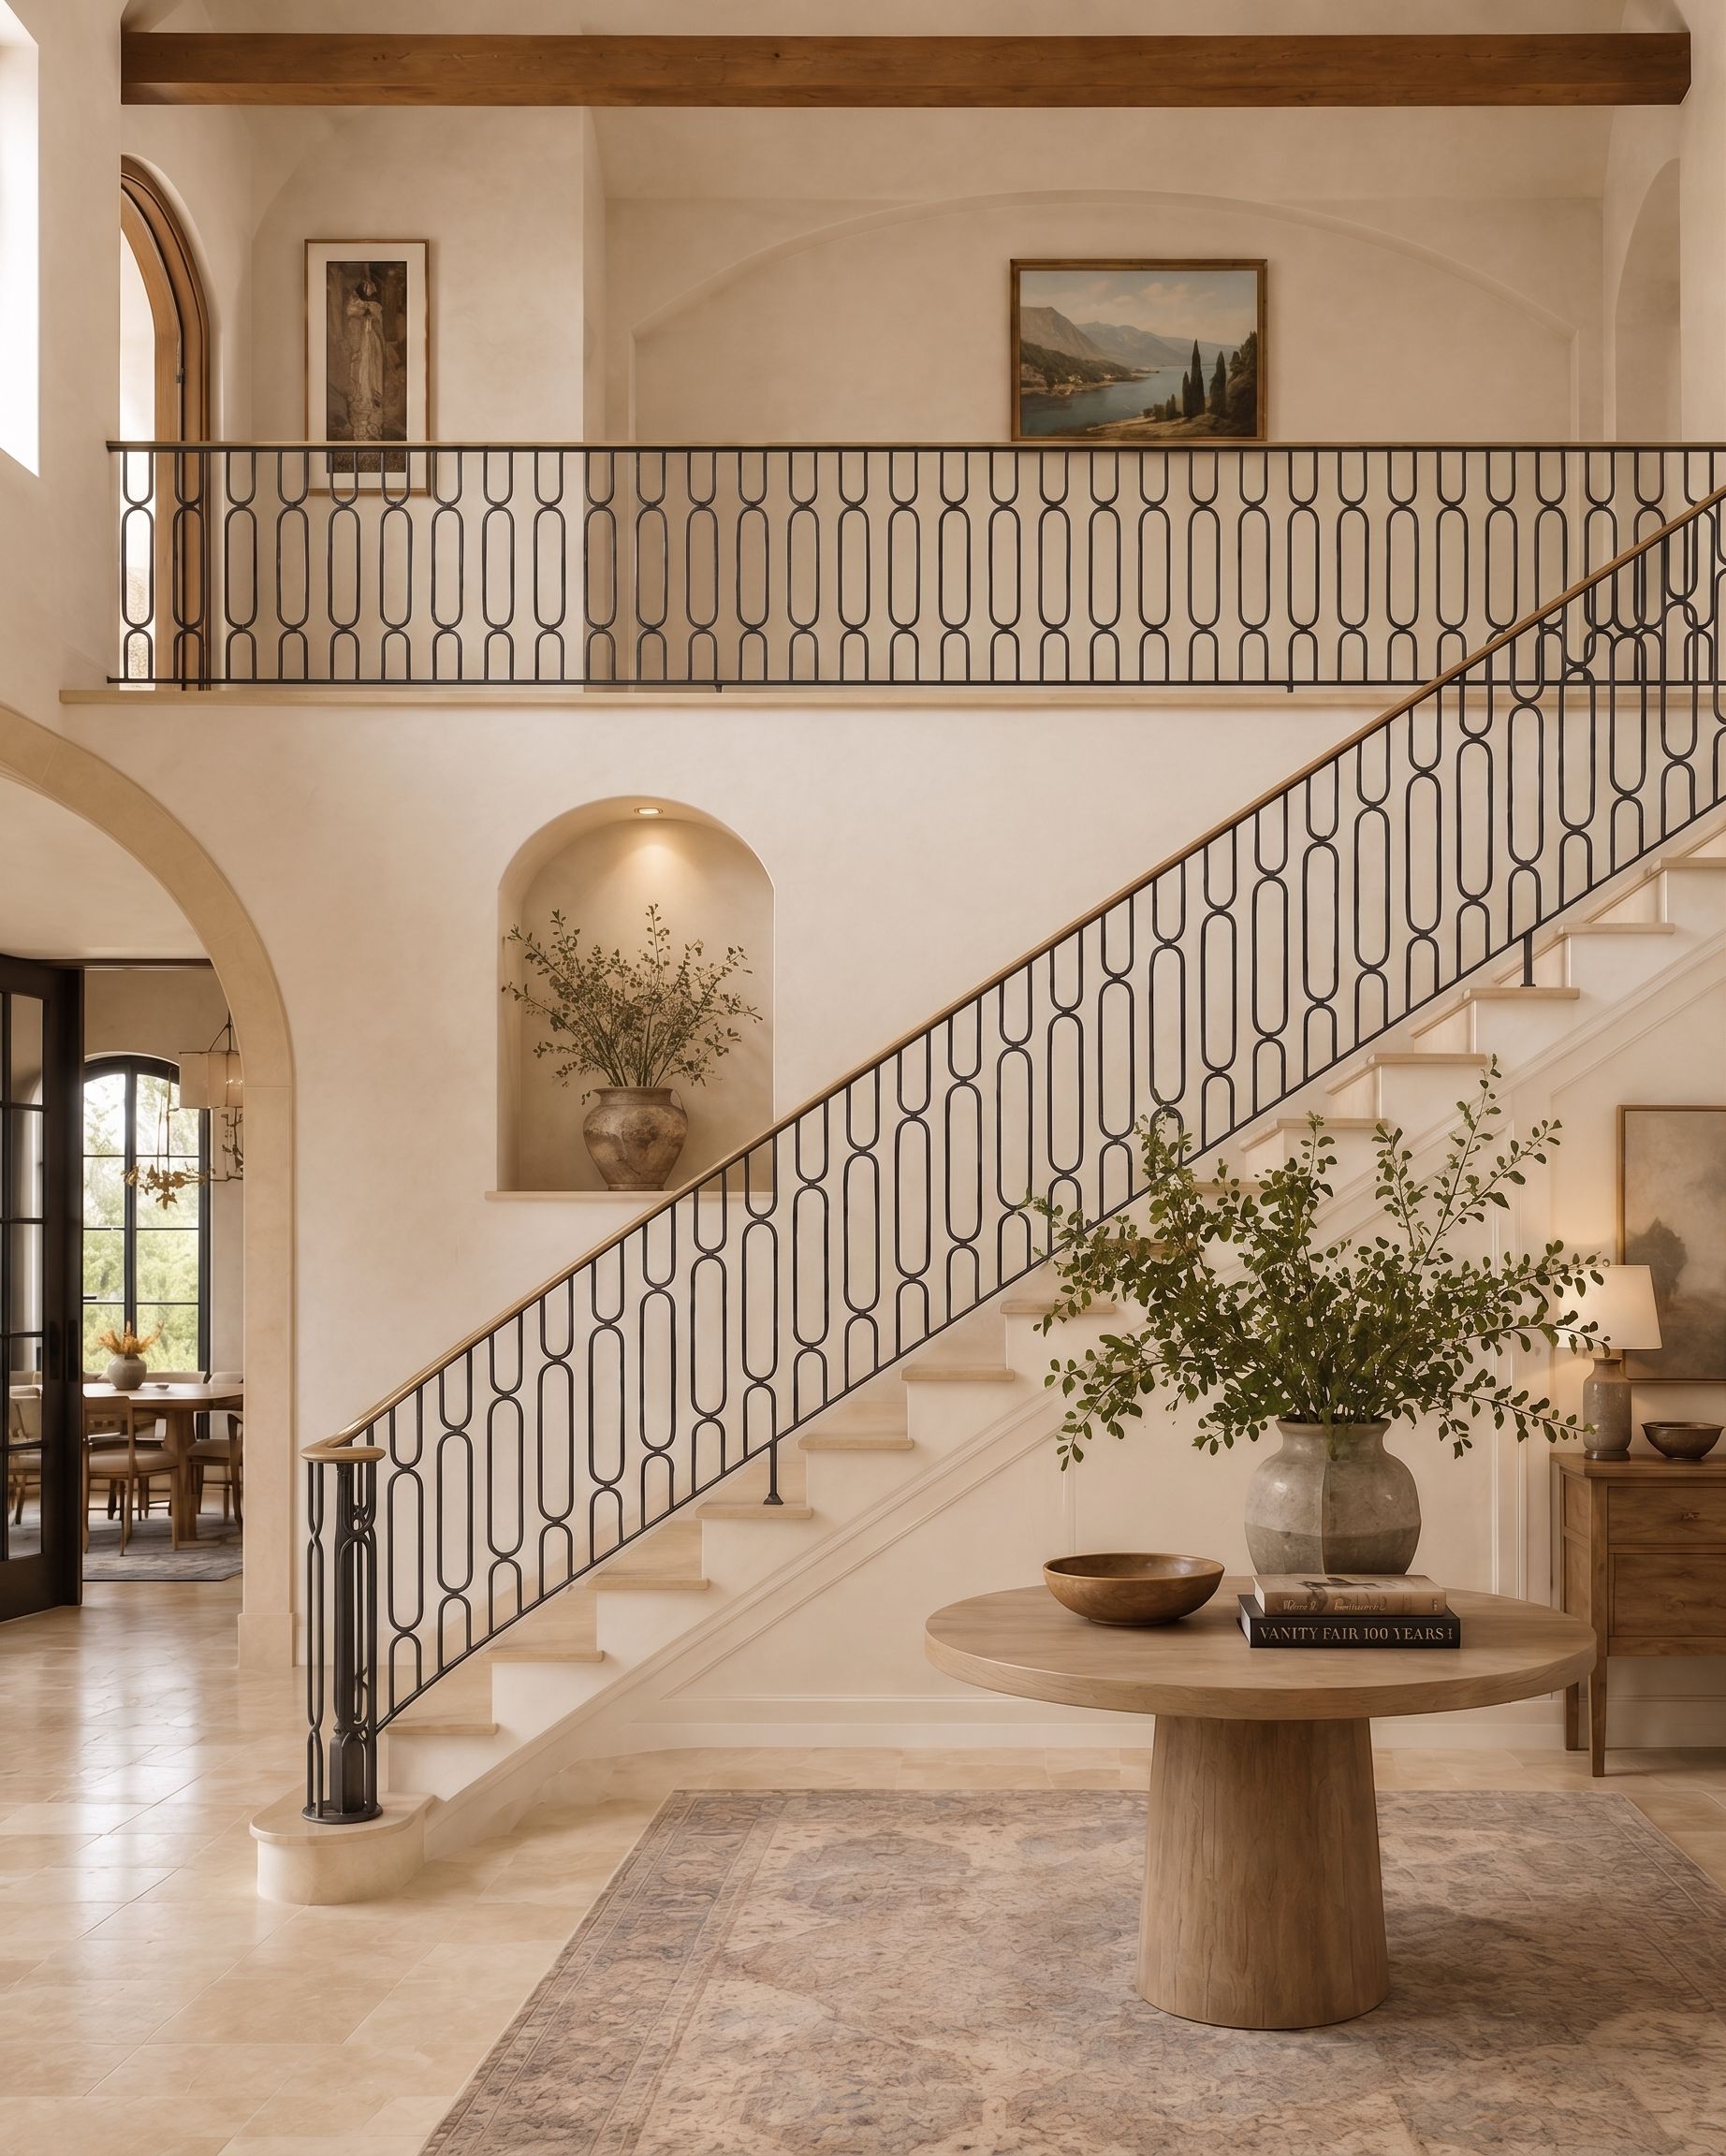
A railing is one of the last things people touch on a construction schedule, but it should not be one of the last things designed. Its posts land in structure. Its height and openings answer to code. Its curves follow the stair. Its transitions meet walls, floors, newels, gates, and sometimes glass. By the time the house looks ready for a railing, the decisions that make a railing clean may already be buried.
This guide explains what to coordinate before a custom iron railing is drawn and fabricated.
The short answer
You do not need a complete railing specification to begin. Send the stair plan if you have one, several photographs, the project address, and a few examples of the character you like. D’Hierro can identify which dimensions and structural questions need to be resolved before the railing is drawn.
What you decide
- The visual direction: quiet, geometric, classical, organic, or highly decorative.
- Whether the scope includes stairs, landings, balconies, gates, or matching pieces.
- The project team, timing, and any finish references already selected.
What D’Hierro handles
D’Hierro surveys the built conditions, develops the railing elevations and details, coordinates attachment assumptions with the project team, prepares finish samples, fabricates the iron, and installs it. The architect, builder, or code professional confirms the project-specific code basis; we turn those requirements into coordinated ironwork.
Start with the jurisdiction and project type
The code path depends on where the project is, whether it is residential or commercial, and how the stair or walking surface is used. The City of Dallas currently lists the 2021 International Residential Code and 2021 International Building Code with local amendments among its adopted construction codes. Other DFW cities may adopt different editions or amendments.
Ask the architect, builder, or code professional to identify the governing code and confirm the required guard height, handrail geometry, opening limitations, extensions, landings, and accessibility conditions for this specific project. Do not treat a photograph from another house as a code detail.
The fabricator’s drawings should reflect those requirements, but the project’s design professional and permitting team remain responsible for the code basis. Resolve that division of responsibility at the beginning, not in the field.
Bring five kinds of information to the first meeting
1. The stair geometry
Send dimensioned plans, stair sections, reflected ceiling plans where relevant, and photographs of existing conditions. For renovations, note what is staying and what is being rebuilt. Curved, flared, helical, and winder stairs need more than a plan view to describe them.
2. The attachment conditions
Show the material below every post and bracket: structural steel, concrete, wood framing, stringer, blocking, masonry, or another assembly. Identify radiant-floor zones, waterproofing, post-tension slabs, embedded utilities, and finished surfaces that cannot be disturbed.
If blocking or embeds are required, locate them before the wall, tread, stone, or floor is closed. A beautiful post cannot compensate for an attachment point that was never built.
3. The design intent
Collect references for proportion and rhythm, not just ornament. Useful questions include:
- Should the railing read light and nearly disappear, or carry visual weight?
- Is the pattern geometric, classical, organic, or intentionally plain?
- Should posts align with stair joints, wall panels, windows, or floor patterns?
- Does the handrail continue through landings and transitions?
- Is a gate, removable section, or child-safety condition part of the scope?
- Should the iron relate to an entry door, balcony, lantern, or fireplace piece elsewhere in the house?
The Starwood Residence shows how a stair railing completed in one phase can establish the proportion and finish language for exterior ironwork added years later.
4. The finish environment
State whether each run is interior, exterior, pool-adjacent, coastal, or exposed to irrigation. Finish selection begins with exposure and maintenance, then color and sheen. If the railing must match existing iron, provide a physical sample or arrange an on-site review; phone photographs are not reliable color standards.
Review D’Hierro’s materials and finish approach before the shop prepares samples.
5. The construction schedule
Identify when the stair can be field-measured, when blocking or embeds must be placed, when finished dimensions will be stable, and when installation access is available. A useful schedule separates:
- Design intent and preliminary coordination.
- Field survey or verified construction dimensions.
- Shop drawings and engineering coordination where required.
- Finish sample approval.
- Fabrication.
- Site preparation and installation.
- Final touch-up and closeout.
Know what changes the quote
Linear footage matters, but it is not the whole price. The largest cost drivers are usually:
- Straight runs versus curves, flares, compound geometry, and transitions.
- Repeating stock-like pickets versus a custom forged pattern.
- Post count, newels, wall returns, gates, and handrail terminations.
- Material profile, bronze or brass details, and mixed-material assemblies.
- Exterior coating requirements or layered hand-applied finishes.
- Field conditions, protection of finished surfaces, lift or scaffold access, and phased installation.
- Engineering, delegated design, mockups, or jurisdiction-specific submittals.
A responsible quote names the assumptions behind those items. If a stair is not ready for final measurement, ask for an initial budget based on drawings and a later price confirmation after field verification.
Review the shop drawings as a room, not a loose object
Elevation drawings should show the entire run, not only a sample panel. Review post locations against treads and joints. Look at the top and bottom transitions. Check how the handrail terminates at walls, newels, and landings. Confirm which dimensions are verified and which remain tied to another trade.
For a repeated pattern, ask to see where the rhythm begins, ends, and changes. For a curved railing, review both the plan radius and the vertical rise. For exterior balconies, coordinate drainage, waterproofing, and the sequence of attachments with the envelope team.
The drawing review is also where code notes, finish references, attachment concepts, and scope exclusions should become explicit. A rendering can show the mood; a shop drawing has to show what gets built.
A railing package that is ready for pricing
- Project address, jurisdiction, and residential or commercial use.
- Current architectural plans, stair sections, and relevant structural details.
- Photographs and a short video walking the complete stair or edge condition.
- Approximate linear footage and number of runs, landings, balconies, or gates.
- Interior/exterior exposure and finish direction.
- Design references with notes on what you like about each.
- Known substrate, blocking, embeds, waterproofing, and finish materials.
- Code criteria identified by the project professional.
- Required submittals, engineering, mockups, and approval parties.
- Field-measure date, installation window, and site-access constraints.
Explore custom stair railings, browse balconies and gates, or send your plans for a project-specific review.
Sources and technical references
These references support the technical context above. Project-specific design, code, engineering, and manufacturer requirements still control.